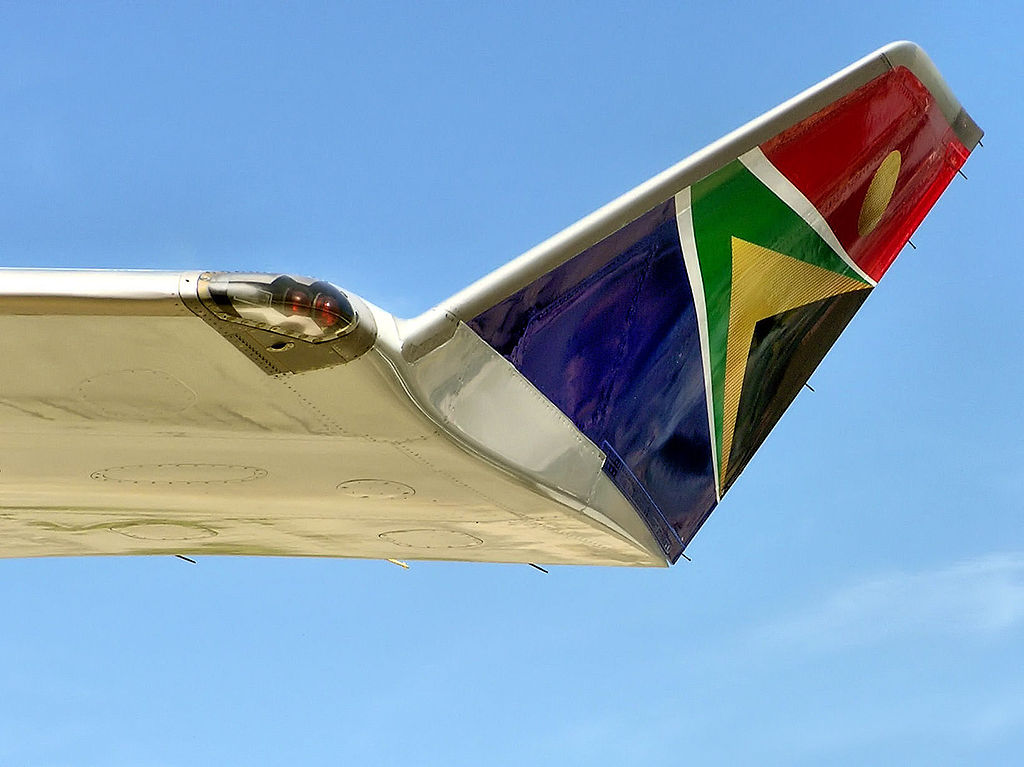
 parked at London Heathrow Airport, England in August 2004, showing the winglet and the red navigation light, on the port (left) wing. The creator of the Photograph, Adrian Pingstone, released this work into the Public Domain.")
Recreating the wing navigation lights usually comes at the end of the building process and sometimes it takes a lot of time and effort to recreate, as they usually are regular lamps encased within coloured glass, which we need to recreate from small, clear plastic parts.
However, as can be seen on the provided image above, It is not always the case to be coloured glass and it can be the other way around with coloured lightbulbs protected by clear, colourless glass.
In this article we will be looking at how to easily recreate this type of wing navigation lights for your model aircraft. This technique is mostly useable for 1/48 scale and larger, although it might work with certain kits of smaller scales too.

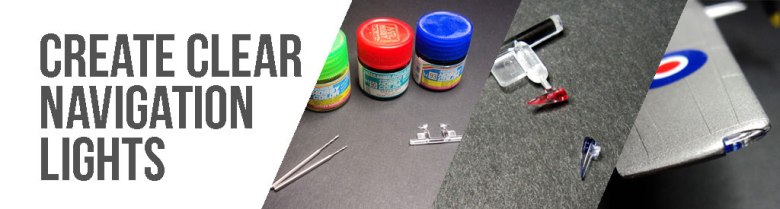
Here’s what we need.
- The clear parts provided from your kit.
Please note: These should be fully molded, and not open on the inside - Clear paints.
Colours depend on the subject, but blue, red and green are the usual colours. - Tiny drills.
Should be about 0,5 mm to maximum 2 mm in diameter - Paint brushes with a sharp tip or toothpicks

Here are the clear parts we will use for the tutorial. These are the clear parts for the Trumpeter 1/48 Supermarine Spiteful F.Mk.14. Please note that these have to be fully closed part and not open on the inside.

Once you have reached out for your parts, you take the smallest diameter drill you have and gently drill a small hole from a side that will face the wing once attached to the model.
Work your way up to larger diameters until you feel that the size is appropriate for the model. Usually I only go as high as 1mm, although with bigger bomber models you can go higher. Make sure you don’t drill too far into the part right away as well!

Here we can see the difference between the handled part on the left and untouched part at the right. Note how I did not drill all the way to the end and only about 2-3 mm deep.

Once you have repeated the same steps on its opposite light, dip your finely tipped brush or toothpick and only dip the top into the paint jar. Gently push the paint on the tip into the hole you created. Usually, due to the clear paint, you might want to repeat this step a few times until the paint is very visible.

Give the paint more than enough time to dry (at least a few hours), so it is no longer fluid once you glue the part into its place. If not, the paint and glue might start to mix and create unpleasant effects or shading around the parts. For those who are not aware, wood or special ‘canopy’ glue is the best type for the placement these type of clear parts.
There you have it, how to easily recreate wing navigation lights.
