
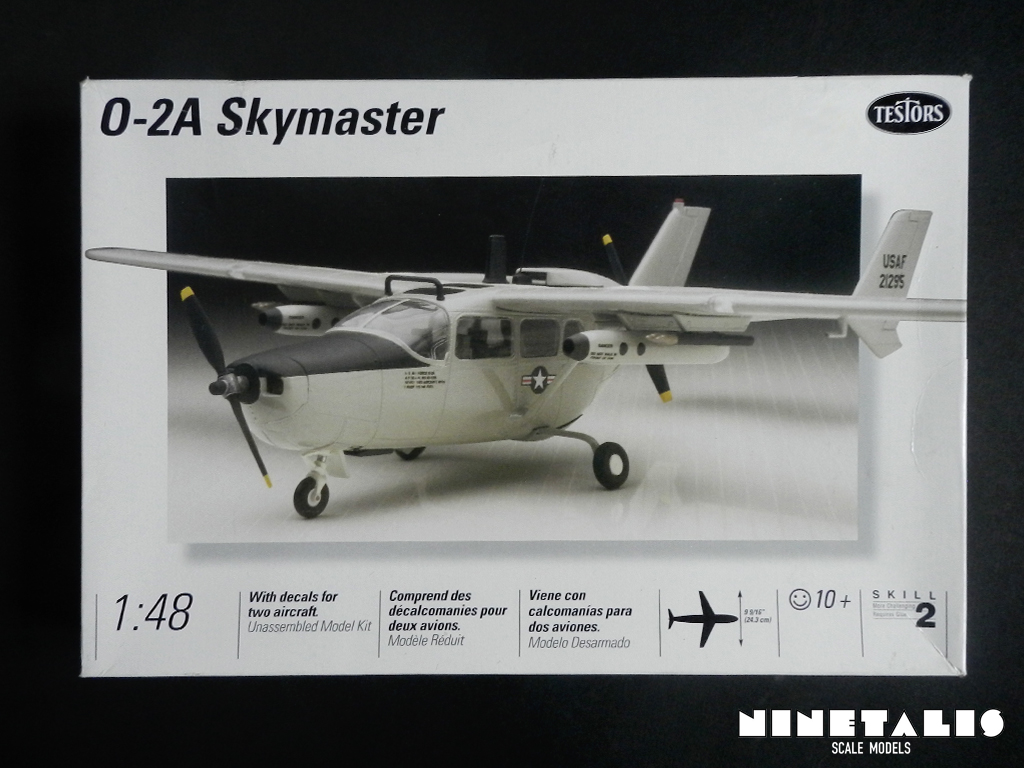
The subject
The Cessna O-2 is a high-wing, twin boom observation aircraft, sporting two engines in a push-pull configuration. Meant as a replacement for the the Cessna O-1 Bird dog in the sixties, they were delivered during the Vietnam war. However, during that same war, they were replacement by the larger and more versatile OV-10 Bronco. Due to the prominent cockpit illumination at night of the OV-10, the O-2 was still preferred for night time operations. After the war it continued operating within the U.S.A.F. and Air National Guard until the eighties. Some were sold to the Botswanan and Salvadorean Air forces or civilian operators. Somewhere during the mid-seventies, twenty Skymasters also ended up with the ‘California Department of Forestry and Fire Protection’ (or CAL FIRE for short).
In total, 532 O-2’s were produced. 178 of those were lost during the Vietnam war.
This article is partially based on information found at wikipedia, 8th april 2015.
The kit
- Subject: Cessna O-2A Skymaster
- Manufacturer: Testors
- Scale: 1/48
- Parts count: 70 (13 clear)
- Serial: 514
- Price: 17 USD
- Personal rating: ✭✭✭✭✭ ✭✭✭✭✭
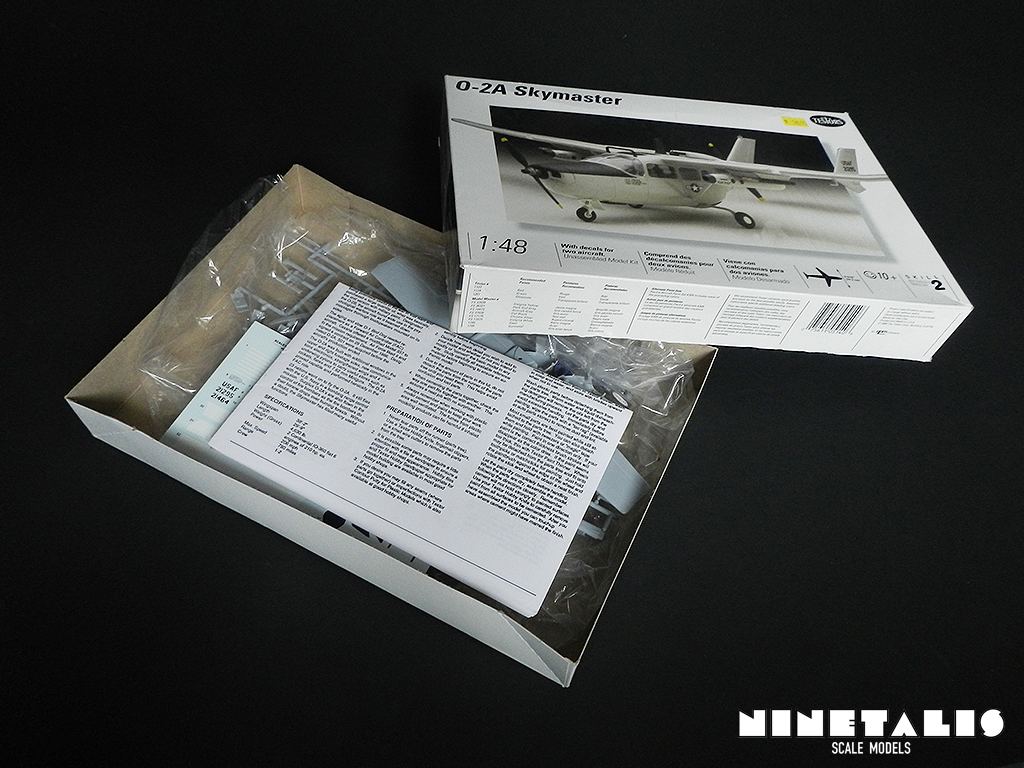
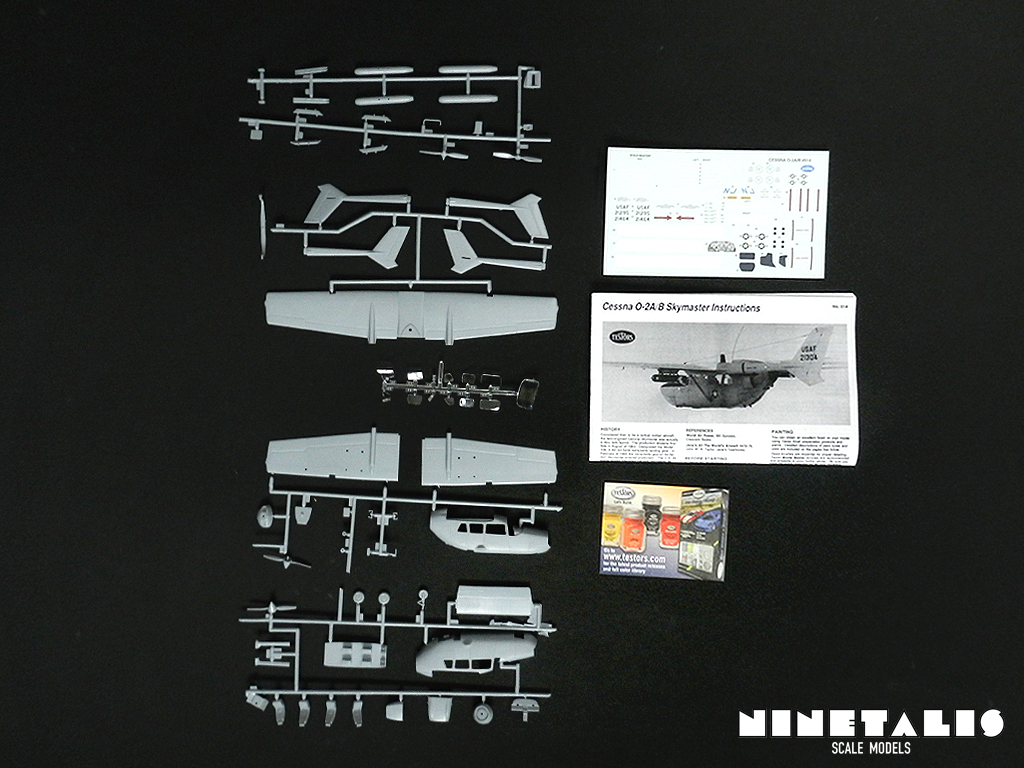
The contents
O-2 Skymaster is the perfect example of a forgotten aircraft. I had never heard of it before I saw this kit and was quite surprised reading that this aircraft even served during the Vietnam war. Besides this boxing, there are no other moldings of it in quarter scale, aside from Heller’s 1/50 kit. Inside the cardboard boxing we can find three styrene sprues, one clear sprue, two leaflets and a decal sheet. The kit holds 70 parts which are numbered individually, however the frames have not been named.
The first thing to note is that the clear sprue is not indivually packaged and this has caused some scratches on the parts. Unlike most kits we see nowadays, the parts are not surrounded by a frame, but rather placed around it. There are also some serious traces of flash on some of the larger parts, which are caused by the age of the kit. Most of the frames have none, but the places that do have it are literally surrounded by it. This is not a surprise when considering that these molds date back from to the sixties and were originally from a company called ‘Hawk’. Despite its age, most of the panel lines are recessed, but some parts feature raised lines and also some raised rivet patterns.
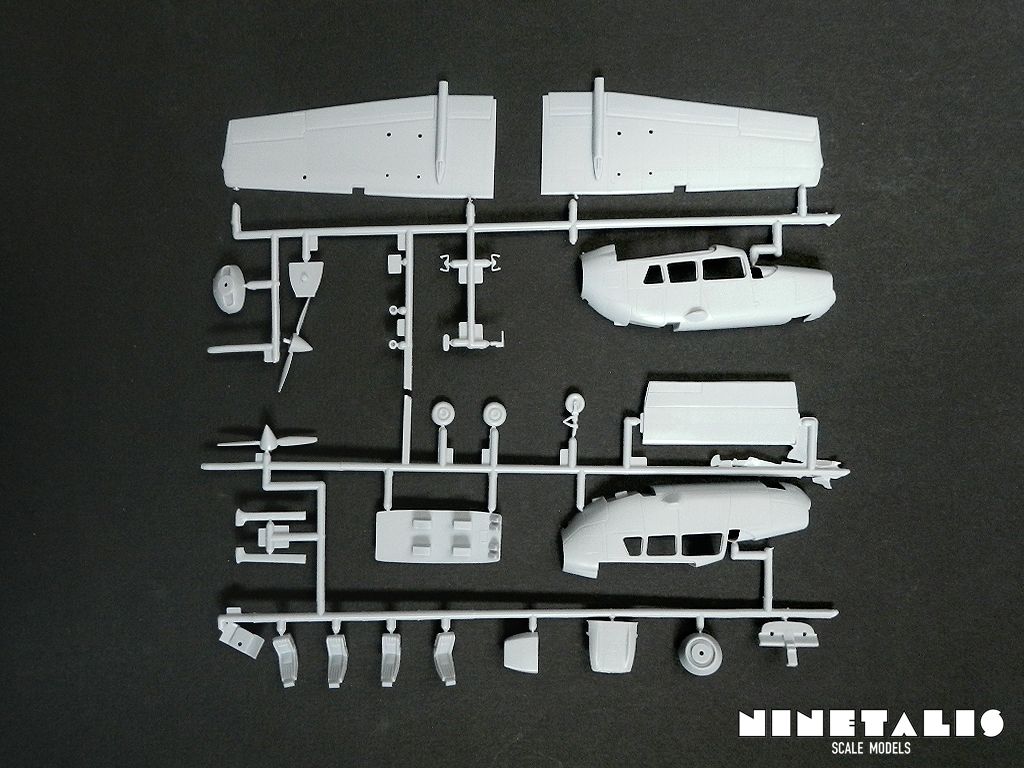
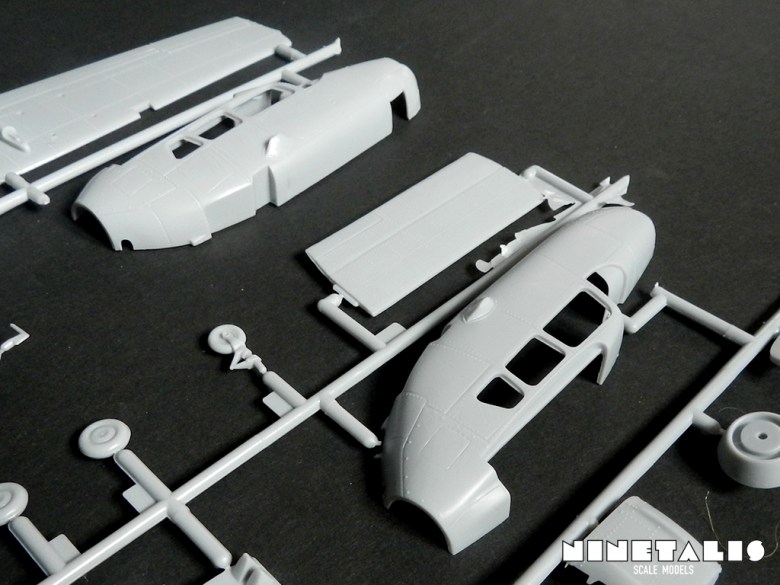
Sprue 1
The first sprue is the largest one of the four. It contains both of the fuselage halves, the wheels, the interior, the stabiliser and lower wing halves. The details are very fine as we can find both recessed panel lines as well as raised rivets on the fuselage haves. Around the part of the stabiliser we can find a lot flash, as well as on some other parts.
The low number of interior parts prove that the cockpit will be very spartan with this kit and will lack a lot of detail. Scratch building will be necessary for the people who want to improve this, because there are no after market interior sets for this kit. However, you should keep in mind that once the fuselage is closed up, the interior will barely be visible from the outside thanks to the high wing placement.
(Some people might have noted that this sprue is cut in two. I did this as I bought this kit during a trip and I had to make the sprue smaller to move it around)
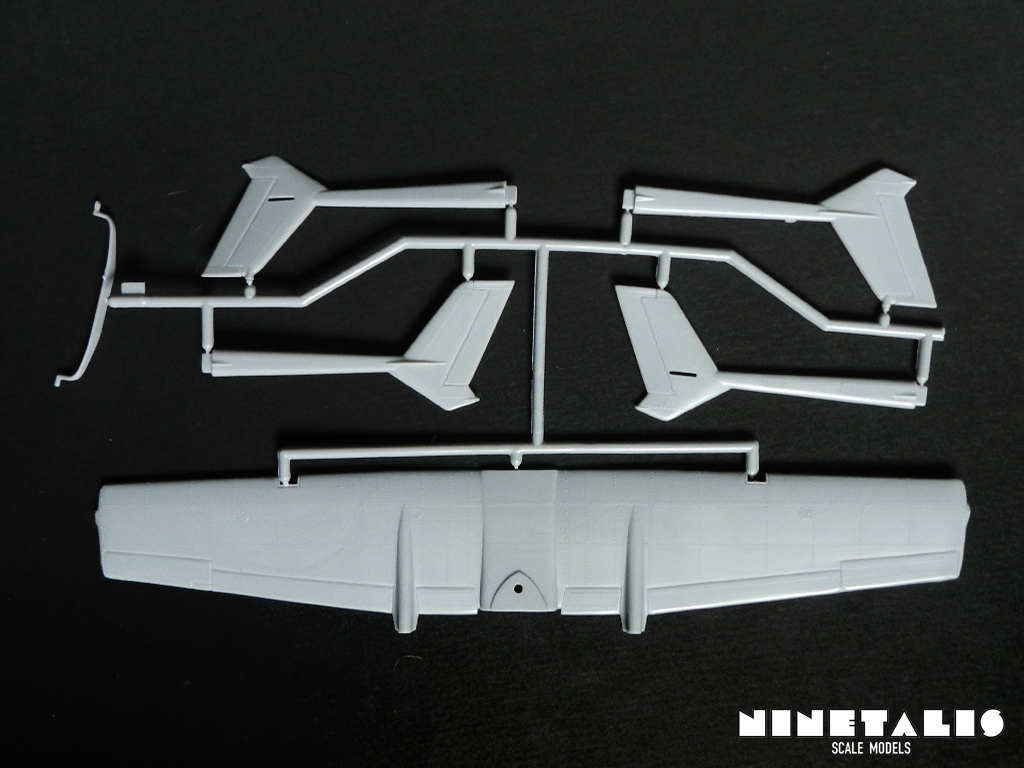
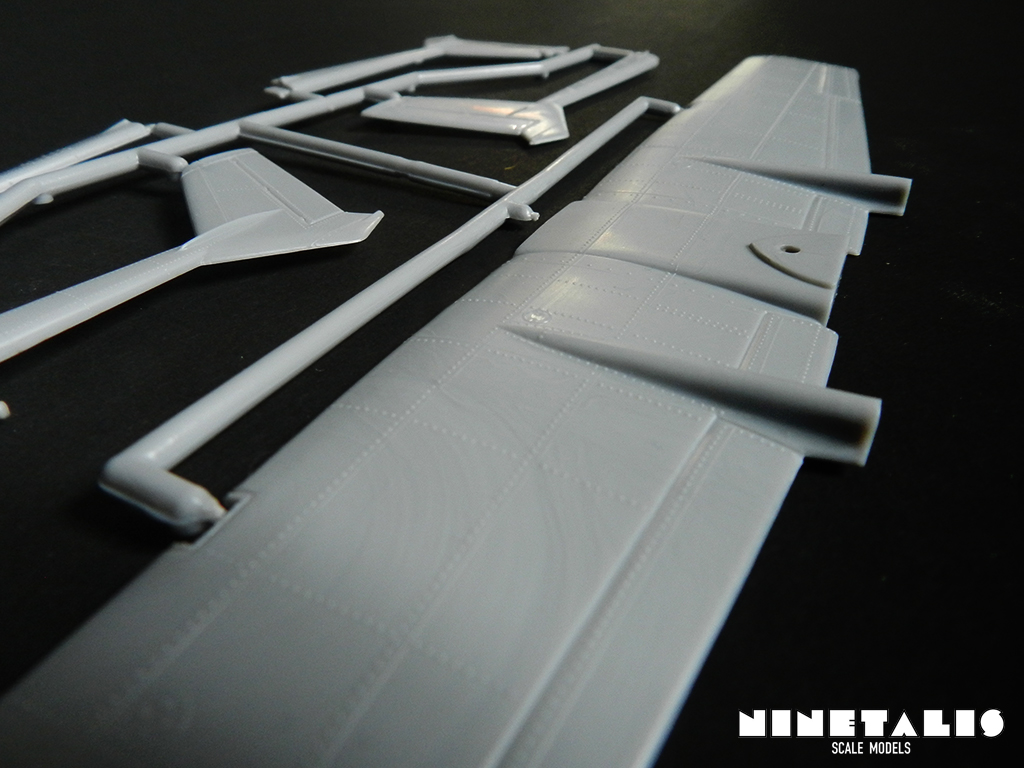
Sprue 2
The second sprue only holds six parts. These are the four tail halves, the top half of the wing and the landing gear. These are well detailed and riddled with raised rivets.
One thing to note of the landing gear is that I’ve seen someone build this kit and he noted that the landing gear bended and later even broke because the weight of the model. He fixed this by adding copper wire inside the part itself before glueing it back together. This might be something you want to address when planning the steps of your own build.
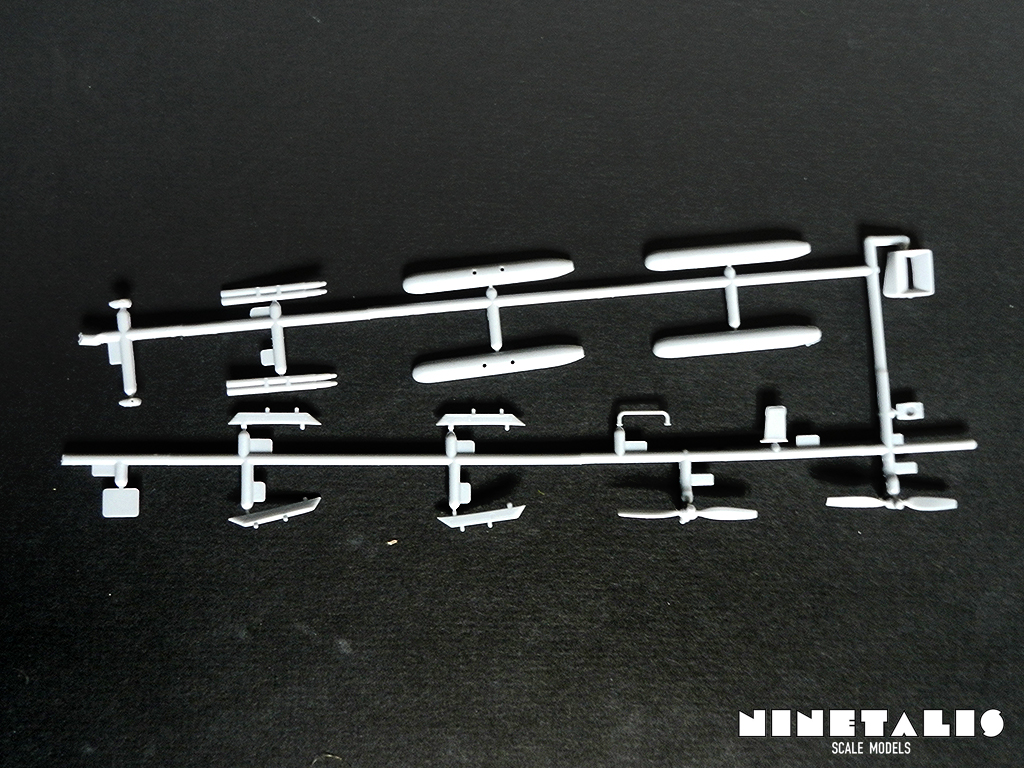
Sprue 3
The final styrene sprue holds the propellors, hard points and armament of the aircraft. Although the frame itself seems to have warped over time, the parts are all okay. Observant readers might remember that sprue one also has two propellors. These are different as those on sprue one feature a propellor cone, while these on sprue 3 only feature a propeller hub.
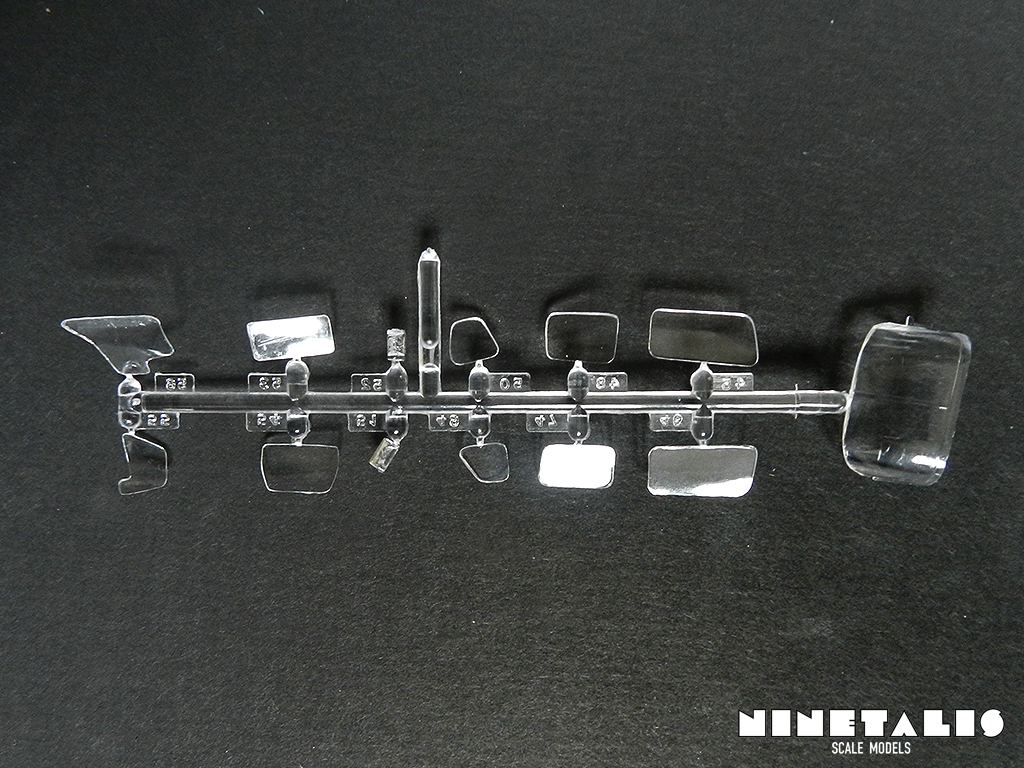
Clear sprue
The clear sprue has been layed out in the same manner as the other sprues, meaning that the parts are put around a middle beam, instead of within a frame. Because of this, the parts are not protected during shipping. This might not have been a problem would Testors have packaged the frame within a bag, protecting it from moving around against the other parts.
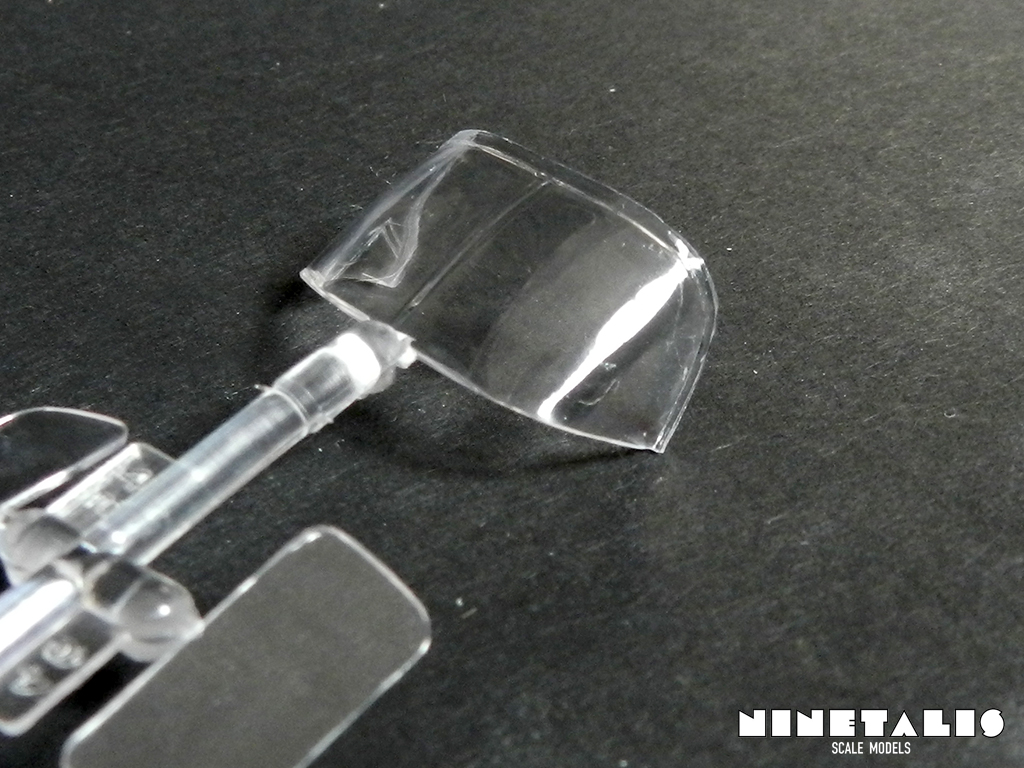
Because of this, we can find minor scratches on some of the clear parts. The fact that the parts are on a beam instead of a frame is understandable due to the age of the kit, but not wrapping the clear parts individually is a move one would question.
Also, most the clear parts have no lines on them, so when you have to glue these on the kit, it will take lots of care no to damage them while placing them onto the other parts.
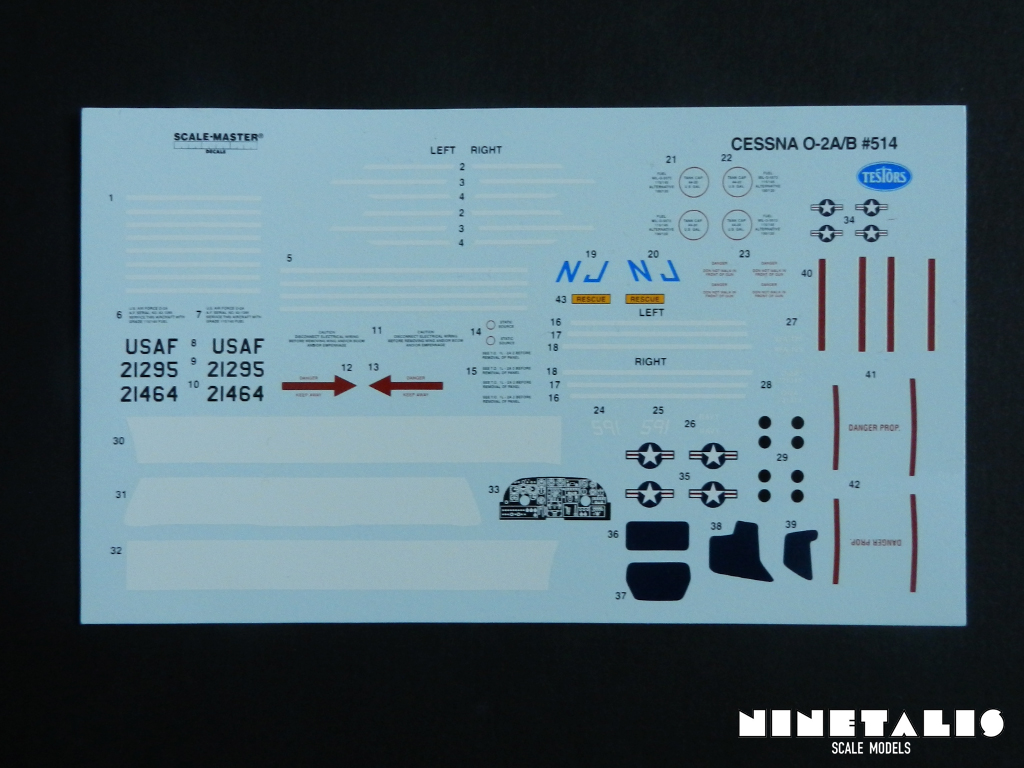
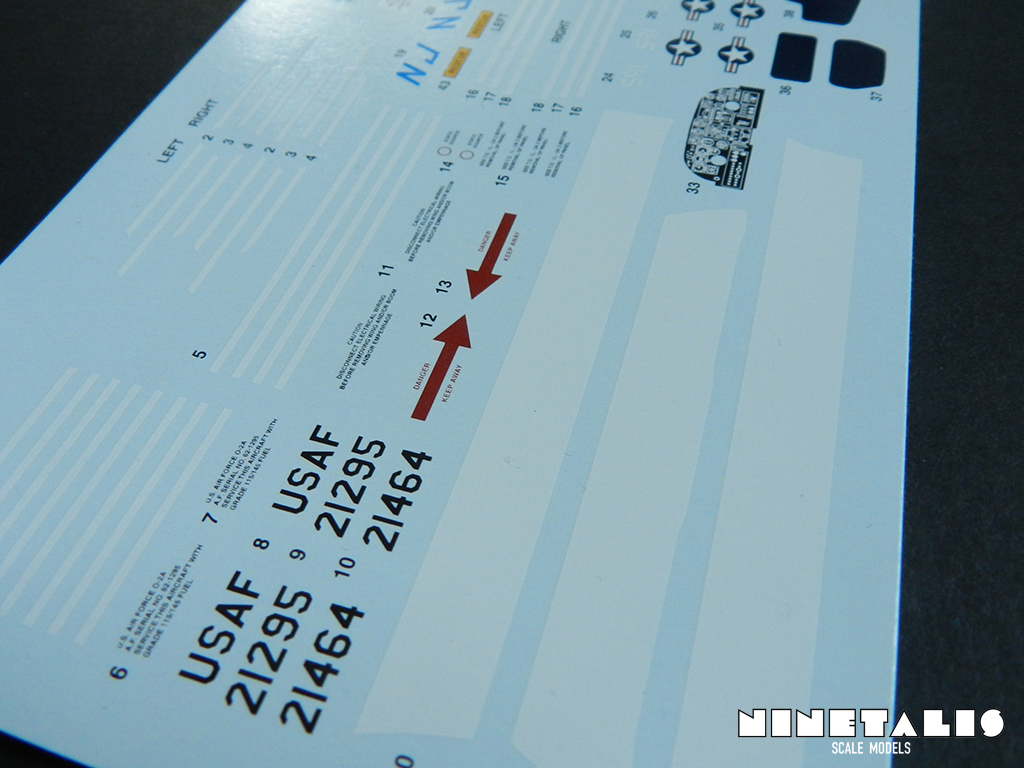
The decal sheet
The decal sheet seems to be a completely different story from the sprue. They are of great quality and silvering looks minimal. Testors has definitely taken their time to provide a modern sheet with plenty of decals to make our model more detailed. Despite half of the decals being walkway lines, we also get some stencils and even the black patches that most of the grey toned skymasters accommodated.
The instructions
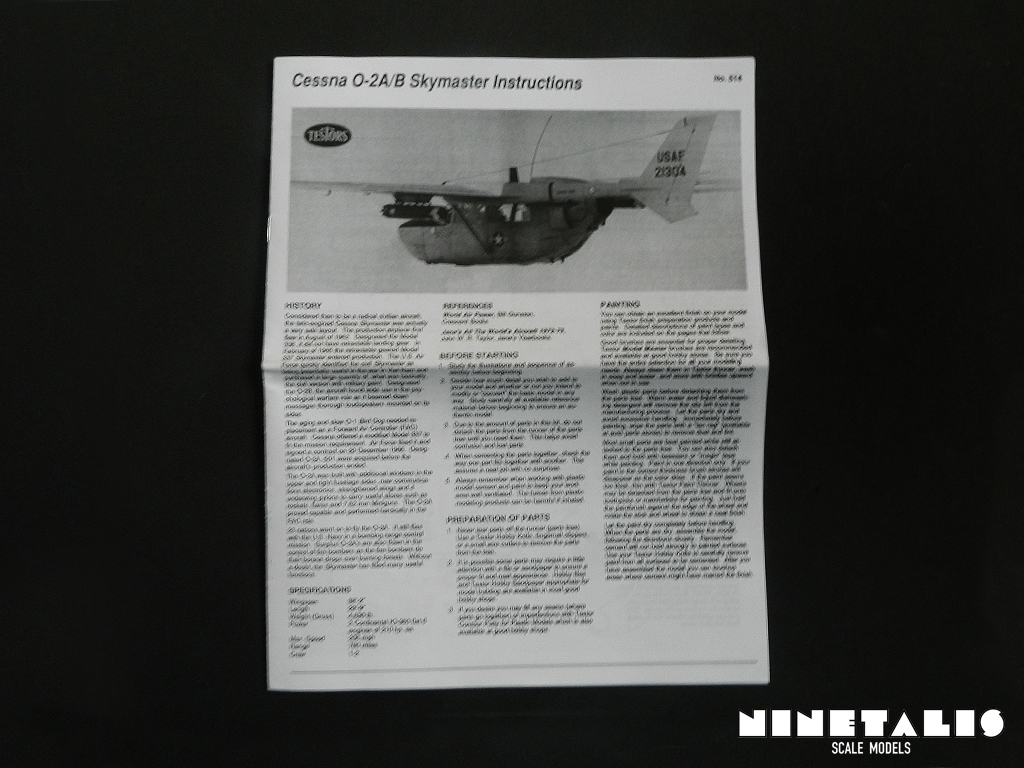
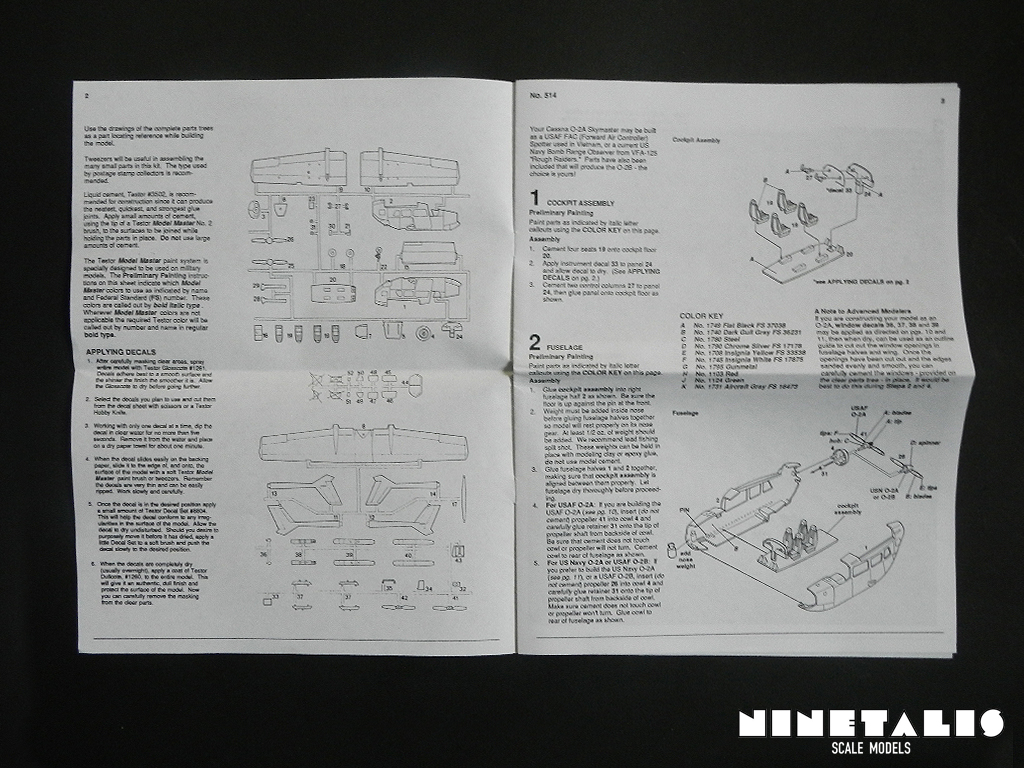
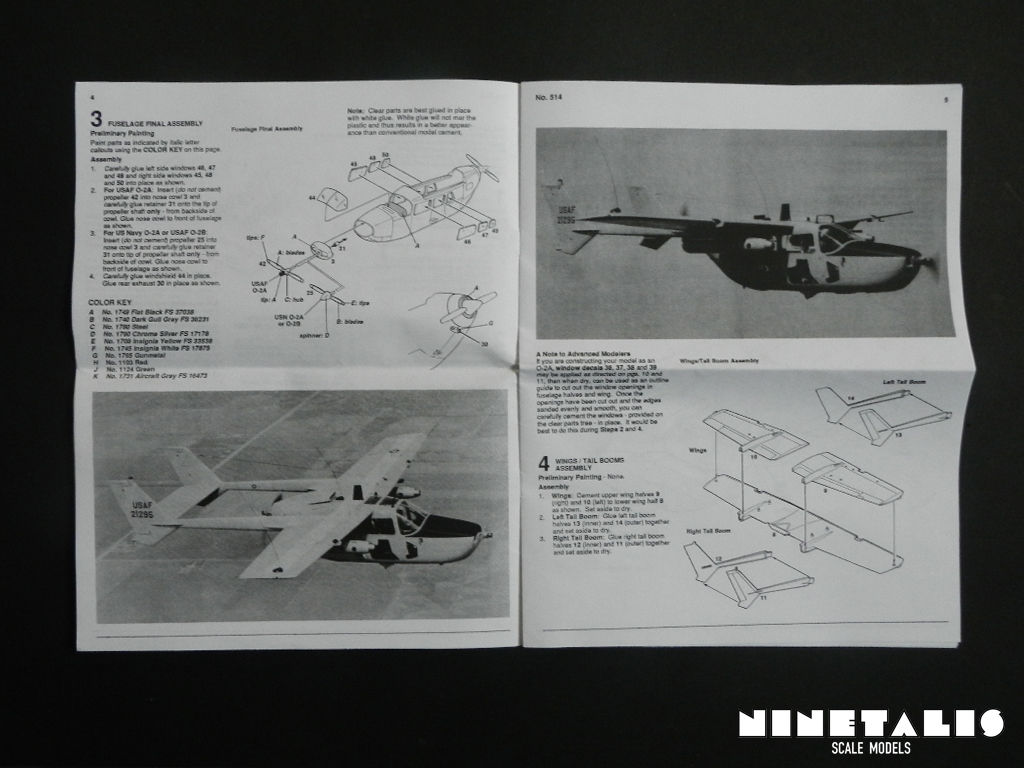
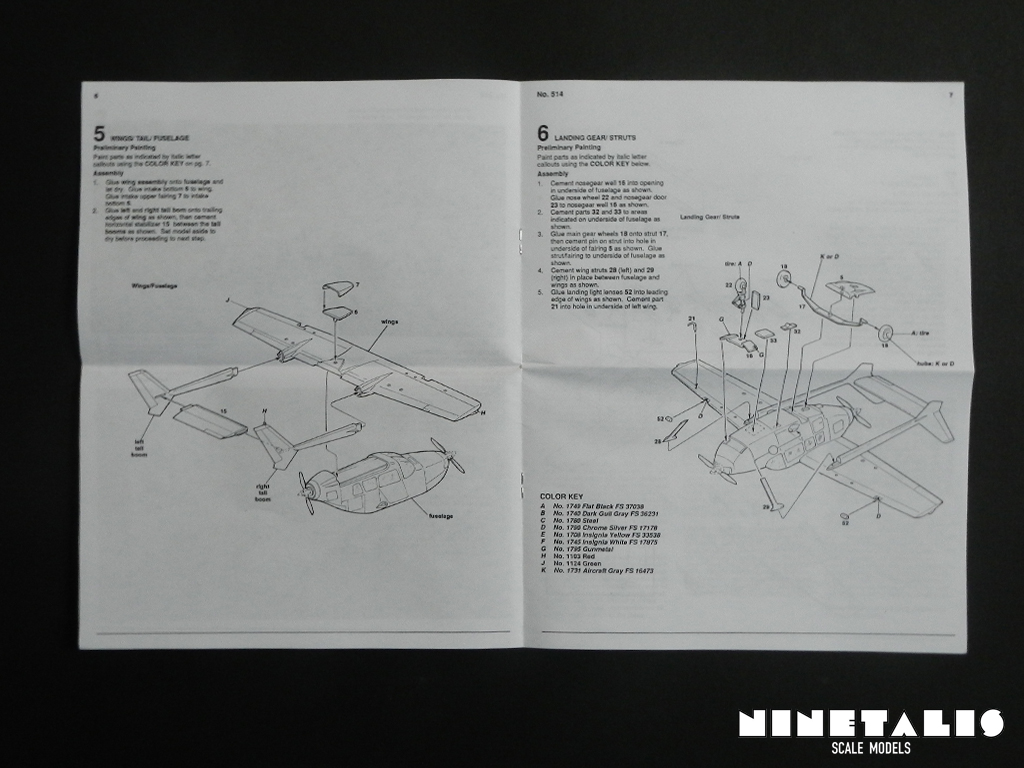
Because the instruction booklet is printed in grayscale, it is quite surprising that it must be the most comprehensive instructions booklet I have ever seen. Not only does it contain both illustrated and written steps, but also a rather large essay on the history of the aircraft and images of the actual aircraft which our kit provides markings for. If only every company did this, it could make life a lot easier for some of us, as it can be a pain to find pictures about some of the aircraft markings that are provided with certain kits.
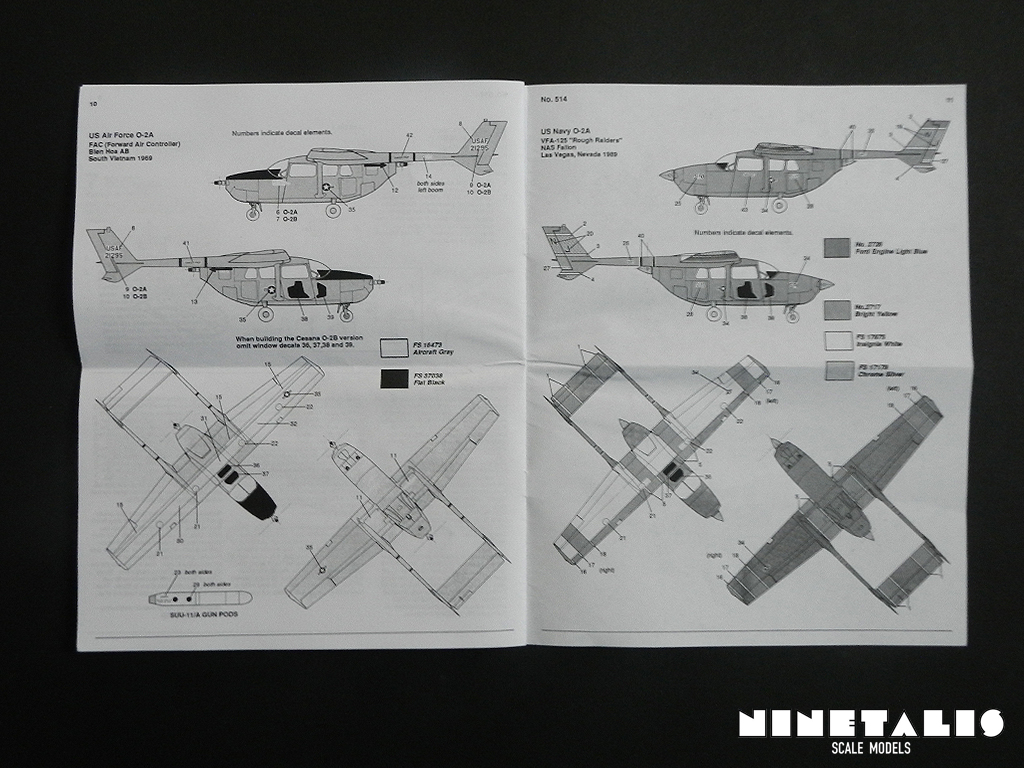
The markings
The kit provides us with two different markings. These are aircraft serial number 21295 and 21464. The first aircraft with serial number 67-21295 was most likely delivered sometime during 1967. In the instruction leaflet we have some pictures of this very airframe. A small search on the internet states some of these pictures were taken above Hickam Air Force Base in Hawaii during 1967. In the information provided within the instructions, it informs us that this aircraft was part of the Forward Air Controller operations (FAC) based at Biên Hòa Air Base in South Vietnam during 1969. The aircraft was later sold on the civilian market and is still airworthy today. It is painted in grey with some white areas.
The second aircraft, 21464, was part of the US Navy VFA-125 “Rough Raiders” in 1985 when based at NAS Falcon in Las Vegas, Nevada. A search on the internet does not provide any more info about this particular aircraft. The aircraft is painted in overal blue with some yellow areas bordered by white lines.
The conclusion
This kit is leaves me with mixed feelings. On one hand it is not good, as during test fitting it showed that the parts do not always fit well and some areas of the kit could use a bit more details like the interior. On the other hand, considering the molds date back from over five decades ago, it is surprising to find such fine details as we can one some parts.
Testors definitely did its best that it wouldn’t fail in the other fields. We get a large instruction booklet and a very nice decal sheet, providing us with markings for two different aircraft. The only place where Testers slipped here was not packaging the clear sprue individually, which caused some minor damage on the parts.
Sadly, this is an often forgotten aircraft and aside from the 1/50 Heller kit, this is the only mold out there in 1/48 scale. Judging from what I have seen on the internet, I’d take this kit over that other one at any day, but I wouldn’t say that this kit is something for beginners, and should be for someone who has build a few kits and knows his way around scratch building and working gently as to preserve the raised details. Despite all this I am sure that this model can definitely become a gem if somebody takes his time to make it shine. Only recommended for someone with a few completed kits under its belt and who is not scared to get a bit dirty.
